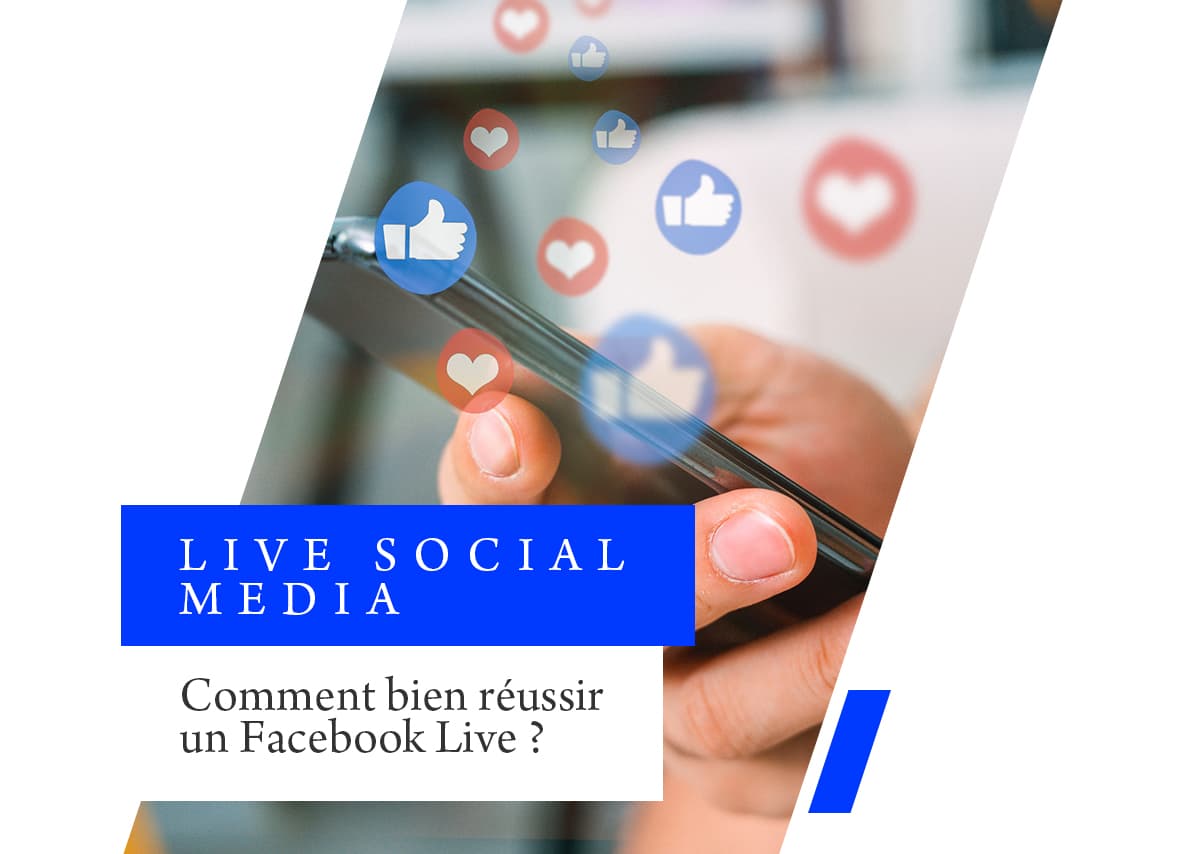
In these times of confinement, Live broadcasts, and especially Facebook Live broadcasts, are all the rage.
Numerous artists, sportsmen and women and TV presenters are busy offering their followers moments of escapism in the fields of music, sport, humor and, of course, travel.
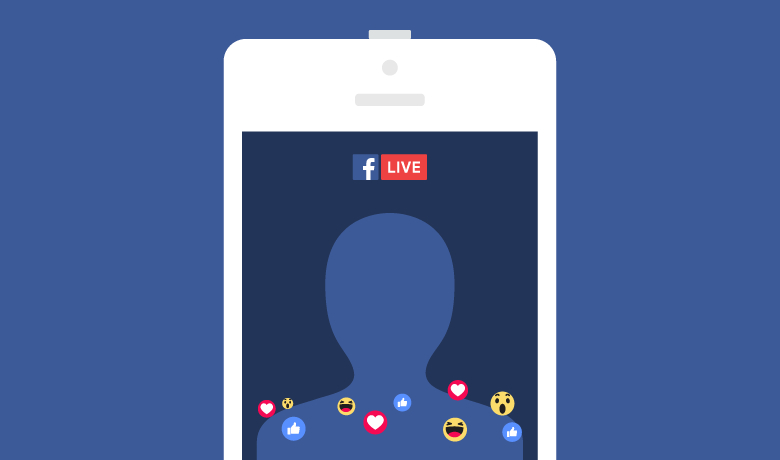
Facebook Live is the best way to interact live with your audience, gaining in proximity, responsiveness and persuasiveness.
Internet users prefer immediacy and interactive communications, and are keen to take part in the conversation.
Beyond containment, Facebook Live is an excellent webmarketing lever for interacting with your community and prospects and creating real proximity.
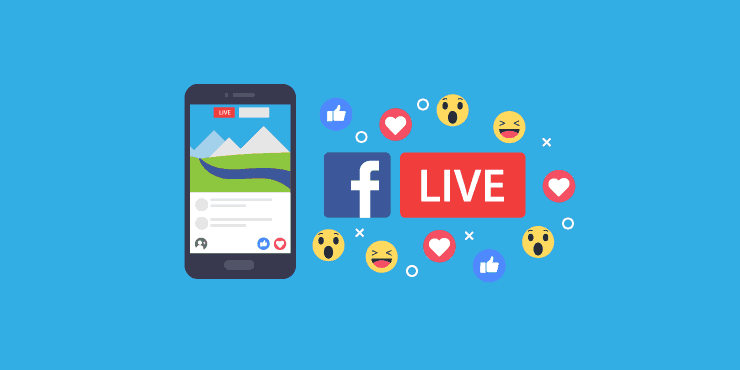
According to Facebook’s latest figures, live videos are watched three times longer than pre-recorded videos, and Facebook Live generates 10 times more engagement than a traditional post.
They can be used for a variety of purposes.
For example, to promote a destination or an activity, to share important news about your brand, to get your customers to talk about a particular experience, to invite one of your partners or collaborators to talk about a subject, to broadcast your events live, to program questions and answers with your customers… So many uses that could lead you to program a Facebook Live to boost your communication.
However, organizing a Facebook Live requires a certain amount of preparation beforehand, and it’s important to follow a few best practices in order to maximize your impact.
Here are the steps we recommend you follow:
- Step 1: Select a theme and prepare your live show
As a tourism professional, doing a live show for the sake of doing a live show makes no sense.
You need to choose your theme carefully beforehand, to make sure your community is interested.
For example, you could ask your followers what they’d like to talk to you about during a live session.
Each live event must meet an internal objective for your brand, and you must always keep this in mind so as not to spread yourself too thin.
Once you’ve decided on a theme, prepare your topic to make sure you’re as professional as possible, while leaving a little room for the spontaneity that comes with being live.
To help you prepare, feel free to make a few notes with the key points you need to cover, the things you should avoid mentioning, and anticipate a list of questions you might be asked.
- Step 2: Choose your distribution medium
You can do your Facebook Live on either a computer or a mobile device.
If you don’t have a tripod, we recommend a computer for better quality and stability.
For those with a tripod, the telephone is a very good support, especially when you consider the quality of today’s cell phone cameras.
To make your Live as professional as possible, we recommend the BeLive tool.
This tool, which comes in both free and paid versions, will enable you to add a colored outline to your Live, add a title to the screen or insert your logo.
If you’d like to share the Live with someone at a distance, this tool will also enable you to do so, by choosing the distribution you’d like on the screen.
- Step 3: Communicate in advance
Once you’ve decided on your theme and scheduled the date and time of your Live event, remember to announce your Facebook Live a few days beforehand.
This will help you attract as many people as possible.
You can, for example, create a Facebook event, create special posts dedicated to the Live or schedule a newsletter to inform your customers.
- Step 4: Test your Facebook Live and Internet connection before going live
This step is silly, but crucial to the success of your Live.
Go to your Facebook page and act as if you were going to write a classic post.
You’ll then see the “Live” button at the top, so all you have to do is click on it.
You’ll then be redirected to Facebook’s Live Producer tool.
Rest assured, you won’t be live right away, so you can test whether your camera and microphone are working properly.
If you want to be 100% sure of the rendering, we advise you to try broadcasting the video on your own Facebook profile and to select the “me only” option so that no one can see you during the test.
Another simple but effective tip: always film a Facebook Live horizontally to avoid being cut off, and choose a strategic position to face the light for the best image quality.
If you choose to use the BeLive tool, please note that the free version does not allow you to test your Live, so be sure to J
- Step 5: Choose your Facebook Live description carefully
Before starting your Live, you’ll need to fill in a description.
This description is crucial, because it’s what’s going to convince Internet users to join you.
It’s important to think about the added value of your Live.
We advise you to prepare it in advance, so that you only have to paste it in when you broadcast.
- Step 6: Prepare an introduction and conclusion
As soon as you launch your live video, you’ll slowly but surely appear in people’s news feeds.
Don’t start getting to the heart of the matter straight away, but give people time to arrive.
Introduce yourself, welcome people and thank them for joining you.
You can wait up to 5 minutes before launching into your topic.
So it’s important to prepare this introductory phase in advance, so you don’t look ridiculous on the big day.
Depending on the number of users present and the number of questions and answers, your Facebook Live can last anywhere from 10 minutes to hours.
So don’t forget to think about a conclusion to end your Live in the best possible way.
- Step 7: React with participants during Live
The very concept of Facebook Live is to create a close relationship with your community.
So, during the Live, don’t hesitate to address the participants.
They’ll be leaving you comments while you’re speaking, so don’t hesitate to name them explicitly to answer their questions.
This will add value to your audience, and interact with them even more.
If you don’t get any interaction during your Live, don’t hesitate to ask people to participate.
Indeed, on social networks we often observe that asking people to share, like or comment on a publication provokes more engagement than not doing so.
So don’t hesitate to ask them to ask you questions or react to the live broadcast.
If you’re broadcasting a conference, for example, and you can’t interact with your audience live, don’t hesitate to ask one of your colleagues to note down the most pertinent questions, so that you can incorporate them into the Q&A phase that usually takes place at the end of a presentation.
- Step 8: Be yourself
A live show can never be perfect, and everyone knows what it’s like to be live.
Authenticity is what makes live broadcasts so popular with Internet users, so don’t be afraid to make mistakes and just be yourself.
If people are present at your Facebook Live, it’s because they’re interested not only in the proposed theme, but also in getting to know your personality and your company’s culture.
So don’t be shy about adding a few touches of humor if you like to laugh, tell anecdotes, just enjoy yourself – it’s your time!
- Step 9: Share your Live
If all goes well, take advantage of this new content to share it with people who weren’t able to participate.
You can modify your publication, improve the description, add links to your site for example, write a catchy title, personalize the video thumbnail.
And if you’re really satisfied, why not embed the live video on your website, boost it on Facebook or share it in a newsletter?
By following these steps, you’ll be ready to launch your Facebook Live in the best possible way.
If you haven’t already done so, don’t hesitate to get started!
For professionals wishing to set up this type of engagement format to promote an event in a destination, for example, you should know that there are more advanced means, which are certainly costly but truly effective and engaging.
We can, for example, create a Facebook Live with a drone to bring to life the appearance of whales in the Dominican Republic, or film a carnival parade using a phone or hybrid camera that can send a wifi signal.
It’s also possible to create Facebook Lives with larger productions, such as a control room with several cameras connected to record a live concert.
Without descending into journalistic reporting, Live can put viewers at the heart of a unique destination or event that will make them want to travel again in the future.
If your audience is more present on Instagram, follow the same advice we gave for Facebook.
On the other hand, it’s not currently possible to broadcast an Instagram Live from a computer, let alone use tools like BeLive to make your Live more qualitative.
Nor is it possible to start a Live test, so be sure you’re on the safe side.
So, Live on Instagram is much easier to manage than on Facebook, but less suitable for brands and tourism professionals.
Indeed, it’s many influencers who today use this Instagram feature to exchange with their community.
Some examples of Facebook Live in the tourism industry
Facebook live from the APST forums:
Facebook live from Hellfest :
Hellfest, also known as Hellfest Summer Open Air, is a French music festival specializing in extreme music, held annually in June in Clisson, Loire-Atlantique.
Its high attendance figures make it one of France’s most important music festivals.